Aviaries and Cages
11th March 2021
How to Build a DIY Chicken Run
I work for a company called Hello Fencing and thought it would be a great idea to build a chicken run using simple DIY products available on our website. I hope this can help you in building a chicken run for yourself.
Welcoming Chickens into my Life
My husband recently asked me what I would like for my upcoming birthday. We have just settled into our house on a lovely 6 acre property. I decided that this was the time to welcome some lovely ladies into our life – by that I mean chickens.
Fast forward a few weeks later my birthday wish came true. We welcomed Catalina the Isa Brown, Maria the Bond Black and Consuela the Bond White. As a novice chicken owner I had a lot of questions including where to put them, how to look after them and how to protect them from the dreaded foxes that lurked in our property at night. Since the arrival of the ladies I have taken the time to study the art of owning chickens using books, online chicken social pages and advice from friends and family. There are more chicken owners out there than you think – whether they are from the country, suburbia or the city.
As I move from a novice to a semi-experienced chicken owner I would love to share my wisdom and convince you how easy and wonderful it is to own these lovely ladies.
Benefits of Chickens
Chickens are a great contributor to the family home. They love eating your kitchen scraps, they will help get rid of unwanted bugs & weeds in the garden and their poop can be composted for the vegie garden. Most importantly they provide delicious fresh eggs. The quality of a freshly laid egg is much better than commercial eggs. In these modern times it is becoming more and more important to have a good understanding of where your food has come from and sourcing it yourself.

Chickens are generally friendly and well-natured. Roosters – maybe a different story! They have the ability to make people laugh, relax and appreciate life. Chickens are generally very child friendly. Your kids will enjoy playing games with them and going on missions to find eggs in the nesting box. Also a great chance to introduce chores and responsibility.
Costs:
Chickens are not expensive to own, especially when you compare the cost of owning a dog or cat. Your main costs will involve setting up the Chicken Coop & Run. I have offered a cost effective DIY way to build your own Chicken Run in this article. A feeder and waterer will also need to be purchased in the initial set up. Depending on how fancy they are, they will cost around $30.00 each.
After the initial setup you will need to purchase the actual Chickens. Prices will vary depending on the breed and age of the chicken. The average cost for your standard laying breeds such Isa Brown at a laying age will cost around $20-$40 a chicken.
After the initial set up, your ongoing costs will include:
- Food – A 20kg bag of chicken feed grain costs around $30.00 which covers my three chickens for at least a month. Kitchen and garden scraps are free 🙂
- Pine Shavings/ Pea Straw/ Barley Straw – Required for the nesting box and coop – Approximately $15.00 a bale or bag.
- Diatomaceous Earth – Required for parasite control. Approx. $15.00 for a 3 month supply.
- Shell Grit – Required for developing strong egg shells. Approx. $20.00 for a 3 month supply.
Minimal Maintenance:
Chickens are a great choice for your first farm animal or pet. Main jobs include food, water, letting them out in the morning and locking them up at night. On average I would spend 5 minutes a day refilling water and food and 30 minutes once a week cleaning the coop and run.
Some helpful tips to look after your chickens include:
- Food – They are omnivorous meaning they will eat anything like vegetables, fruits, weeds, grubs and bugs. Always have a supply of chicken feed whether it is pallets, crumble, grains or mash as a food base and then spoil them with kitchen and garden scraps.
- Water – Always make sure your chickens have access to clean water, especially on warmer days. I always play safe and have two separate water sources. Tip – Add a splash of vinegar once a week to assist with internal health, feathering and egg quality.
- Nesting Box – Pine Shavings are best to use inside the nesting box and hutch floor. Clean out once a week.
- Chicken Run – Use straw on the ground. Clean out once a week.
- Diatomaceous Earth – Add 1/2 a cup to their feed once a month to assist with internal health and parasite control. Also dust your chickens, nesting boxes and dust baths once a month to prevent parasites such as Lice and Mites.
- Shell Grit – Add a cup to food once a week to assist stronger egg shells.
Sounds too easy!!
The Coop:
There are many fantastic ready to build systems available online. An easy to use option is the Omlet Eglu Cube with an automatic door. However these fancier systems do cost around $1000.00.
A lot of people do decide to build their own coop whether they use timber, an old garden shed or even some creative individuals use an old bus. If you are deciding to go for this option, things to consider include:
- Have nesting boxes dark and low to the ground. Also provide easy access to collect the eggs.
- Have perches high and secure. Chickens prefer to sleep/ roost on a perch rather than the ground. You can simply use a piece of timber thicker than a broomstick handle.
- Make sure it is well insulated and protected from wind, rain and heat. Chickens are more likely to struggle in the heat, therefore ensure there is good ventilation for those hot nights.
- Use materials that are easy to clean. This will prevent parasites and mould.
- Make it Fox Proof. This includes having secure walls and a roof, a door that closes at night and a floor that cannot be dug through for example bricks or concrete.
The Chicken Run:
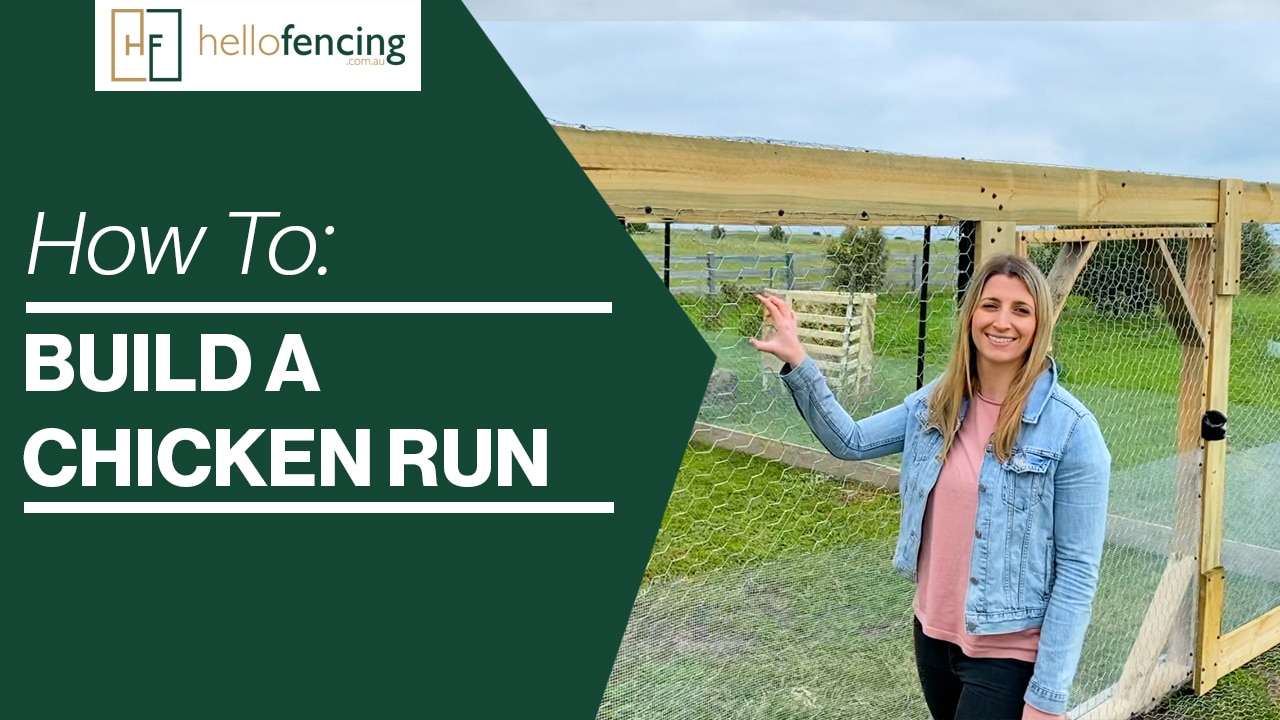
Hello Fencing has created this below design using products available from our online store. Check out these simple and thorough steps to build a secure and sturdy chicken run.
Materials and Tools used:
-
- Measuring Tape
- Marking Paint
-
- Tek Screws & Drill
- Treated Pine (150x25mm) and a Saw
- Fence Wire 2.50mm Medium Tensile Galv – 300m
-
- Tent Pegs
- D&D technologies Tru-Close Multi Adjustable Hinges
- D&D technologies LokkLatch Series 2
Safety Note:
- When working with any mesh or wire products, always wear safety glasses and gloves.
THE BASE
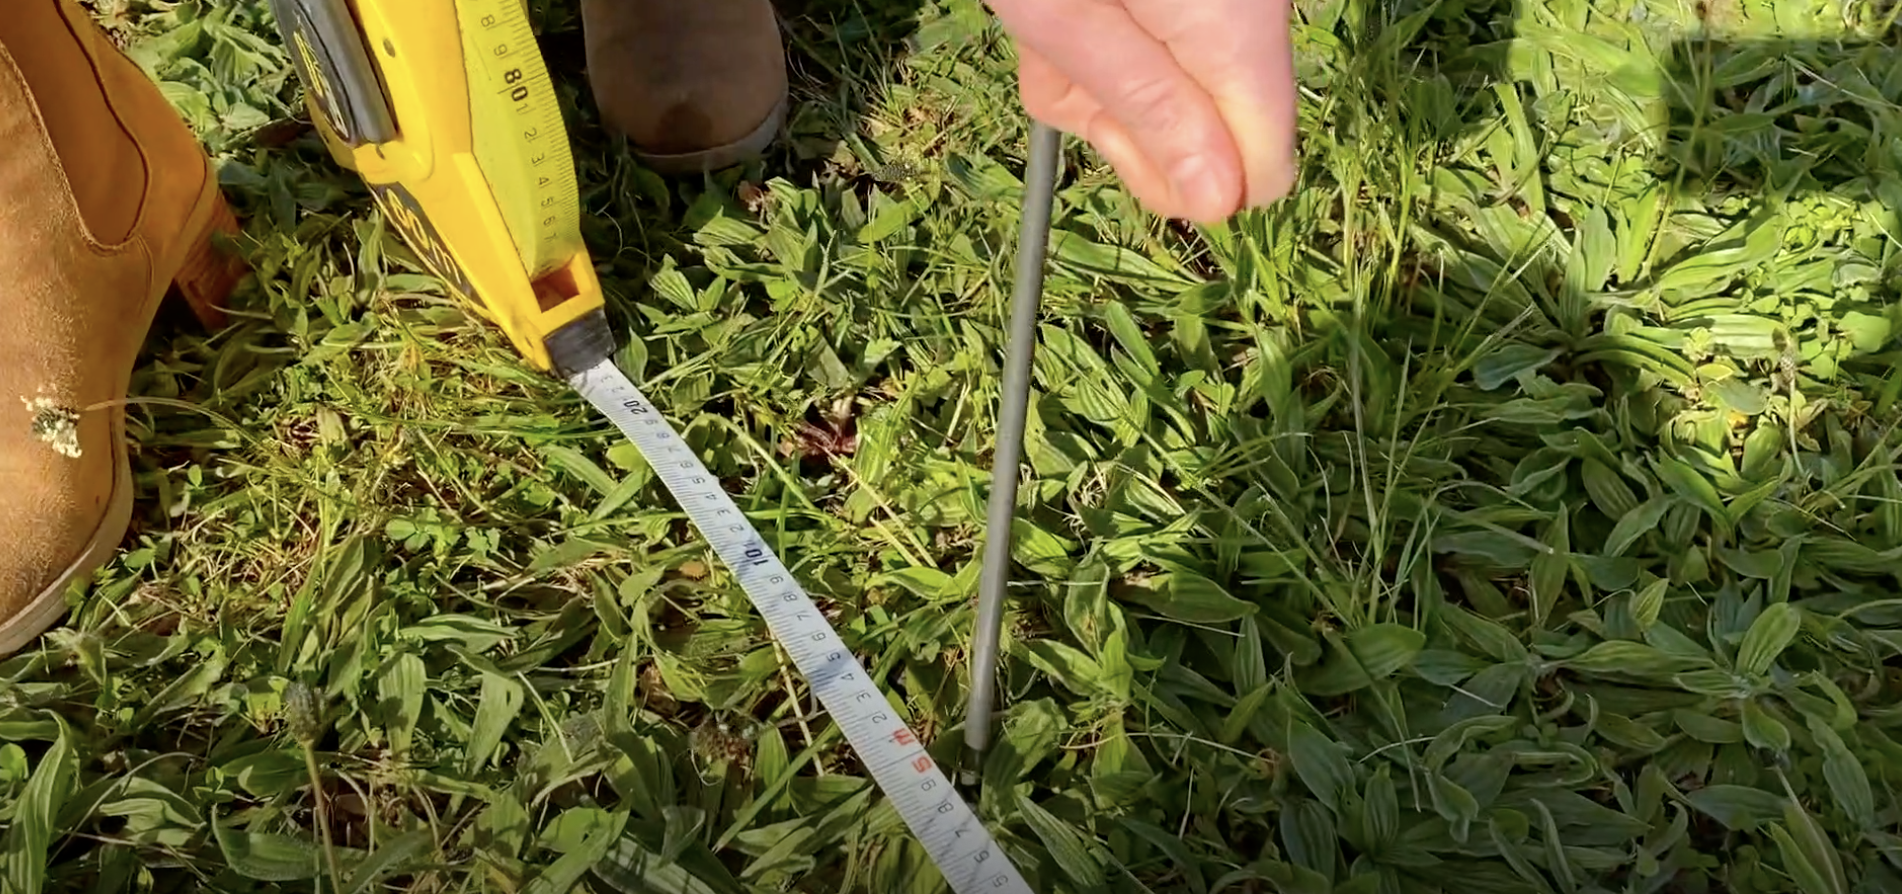
- Measure the base of the chicken run using a measuring tape and marking paint.
- Install corner posts using the Stockpost Black 2400mm. Use a Stockpost Driver Standard 80cm to install the posts. Stockpost have a handy line indicating how deep to install the posts. If you make a mistake you can simply remove the Stockpost using the Stockpost Lifter Standard.
- Install the header board to the top of the Stockpost using Tek Screws and a drill. For the header board you can use a treated pine (150x25mm).
- Install the intermediate and gate posts using the same equipment and method as the corner posts. For this application it is recommended not to exceed 2.4m post spacing.
THE SIDES
- Brace each side of the Chicken Run using Fence Wire 2.50mm Medium Tensile Galv. Cut the wire using Wire Cutter Knipex 200mm Contractor Grade. On each side thread through the top hole of the first corner Stockpost and finish by threading through the bottom hole of the opposite corner Stockpost. On the same side thread another wire starting at the opposite corner.
- Overlap each end of the wire by approx 200mm and join it using a Maxtensor Wire Joiner 1.8-3.2mm. The arrows on the Joiner indicate which way the wire goes in. Pull the wire through using Fencing Pliers – Bullnose 250mm. To tension this wire even further, use our Maxtensor Tensioning Tool Contractor Grade. When tying off, leave an additional 100mm of wire at the end of the joiner in case you want to re-tension. Use the Fencing Pliers – Bullnose 250mm to assist you with the tie off.
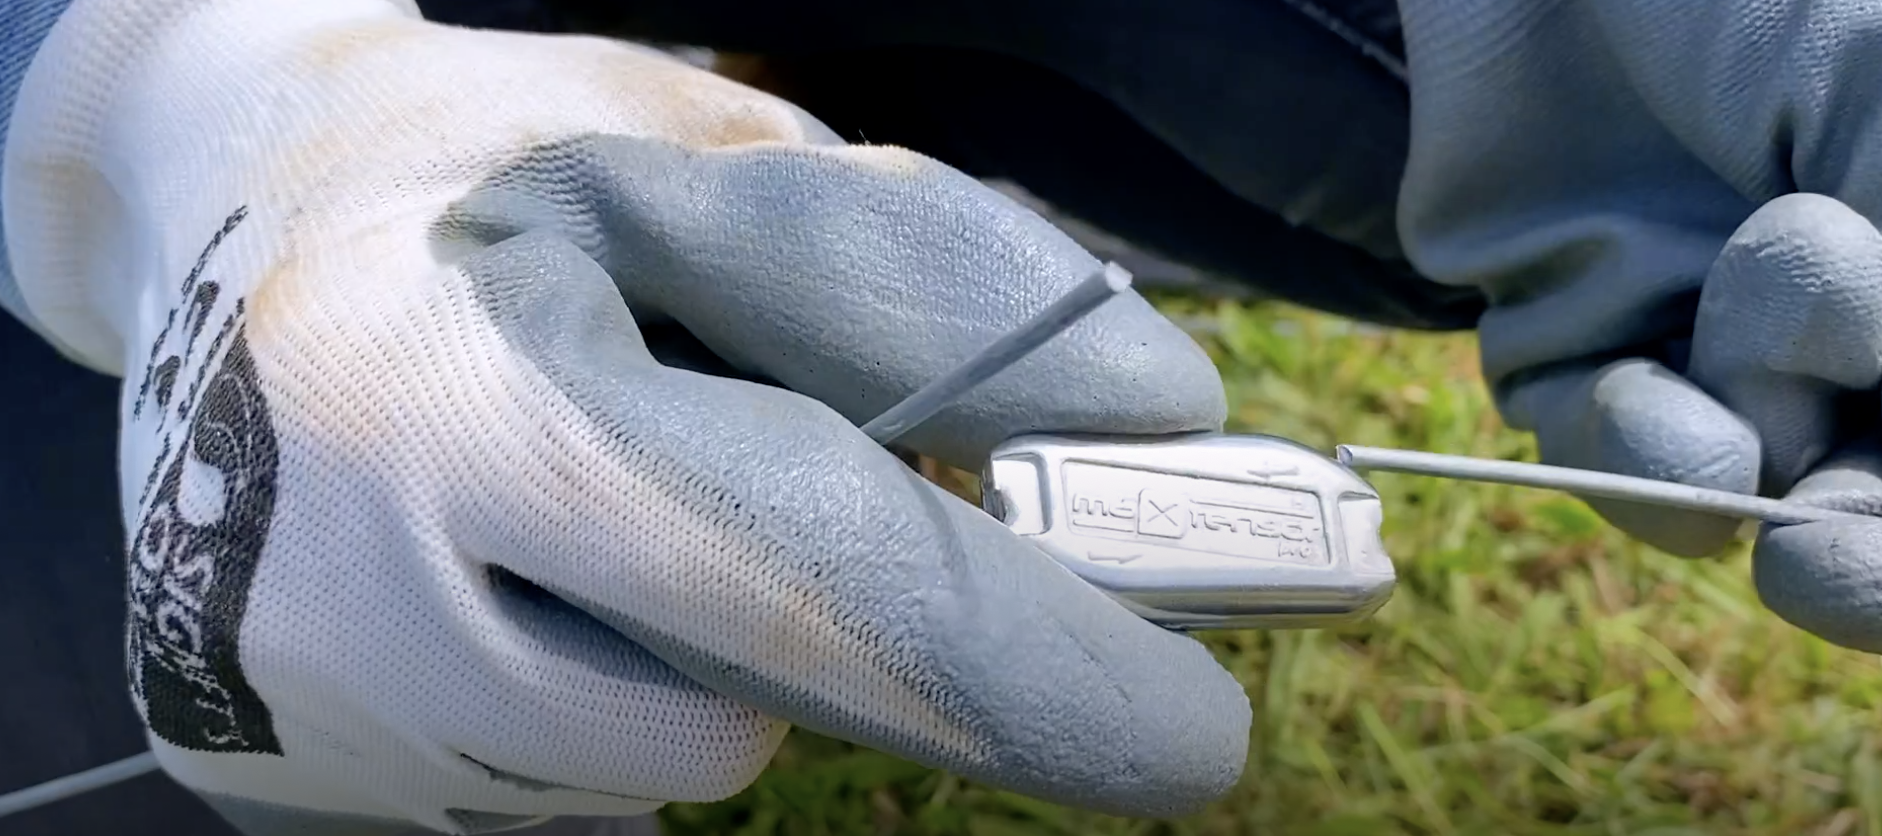
- Once the bracing is done, run another wire along the top (under the header board) and along the ground to attach the mesh to.
- To make your Chicken Run tough and fox-proof, we recommend that you use the Mesh Heavy Netting 5cm/1.6mm Heavy Galv 1800mm high. Place the mesh around the pen and tie off on the first post by wrapping the mesh back on itself. Use Fencing Pliers – Bullnose 250mm to tie off the mesh.
- Connect the mesh to the header board using Tek Screws and a drill. Also connect the mesh to the brace wire using Mesh Clips 16mm 2.00mm Galv and Mesh Clip Pliers. For an easier installation I recommend using the STOCK-ade JAMBRO Ring Fastener Gun and STOCK-ade JAMBRO Std Rings.
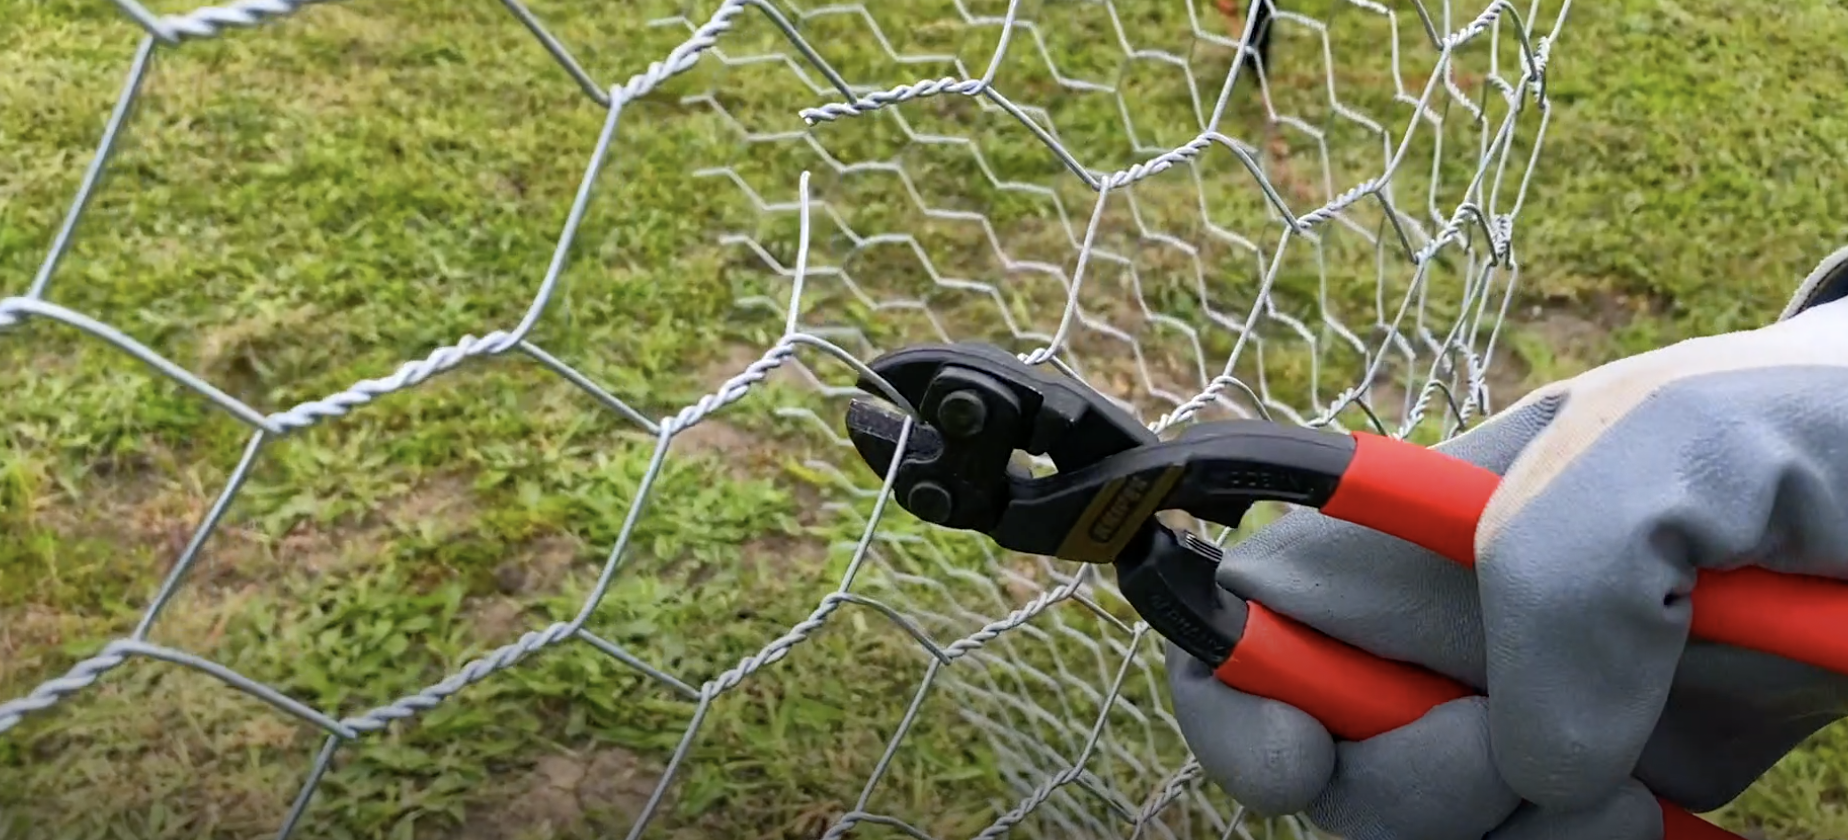
- When cutting the mesh to finish the run, cut right in the edge of the twist using a Wire Cutter Knipex 200mm Contractor Grade. This will provide you two loose ends to tie off on the last post by wrapping the mesh back on itself. Use Fencing Pliers – Bullnose 250mm to tie off the mesh.
Fox Proofing:
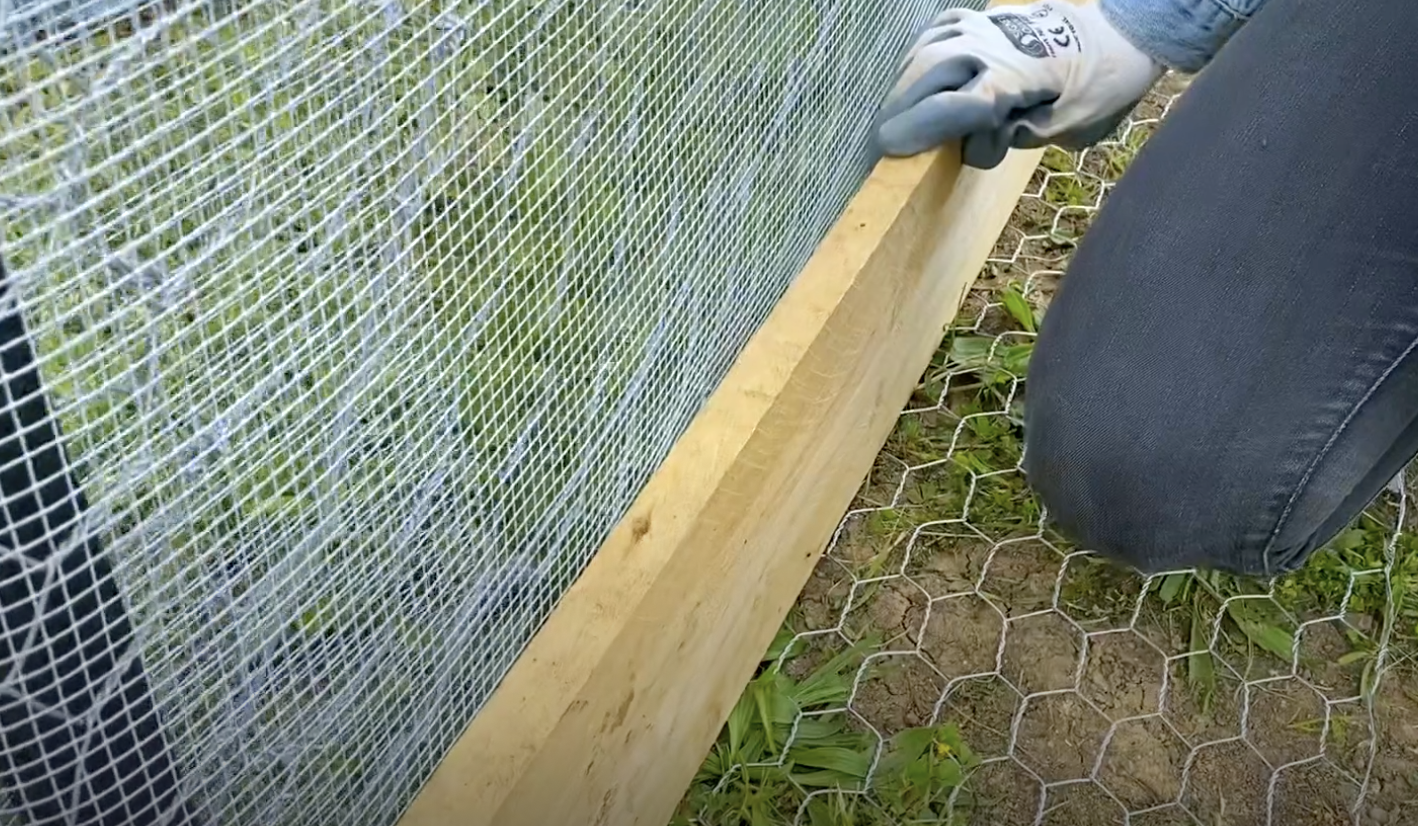
- Install Mesh Heavy Netting 4cm/1.4mm Heavy Galv 300mm around the ground against the Run. Install the tent pegs into the ground over the mesh every 500mm to prevent the fox from digging under.
Mouse and Snake Proofing:
- To complete the sides and prevent unwanted pests, install Mouse & Snake Mesh 6.5×6.5mm 0.63mm Hot Dipped Gal 900mm along the bottom of the sides. Attach to the Mesh Heavy Netting 5cm/1.6mm Heavy Galv 1800mm using Mesh Clips 16mm 2.00mm Galv and Mesh Clip Pliers.
- Secure the Mouse & Snake Mesh 6.5×6.5mm 0.63mm Hot Dipped Gal 900mm to the ground Mesh Heavy Netting 4cm/1.4mm Heavy Galv 300mm by threading Tie Wire 2.0mm Soft Tensile Galv between the two. Use Fencing Pliers – Bullnose 250mm to assist you pulling through the wire.
- Complete the sides by Install the Plinth Board to the bottom of the Stockpost using Tek Screws and a drill. For the Plinth board you can use a treated pine (150x25mm).
THE ROOF
- Install a couple of cross beams by installing treated pine (150x25mm) to the top of the Stockpost using Tek Screws and a drill. This will assist to hold up the Mesh.
- Install two additional cross wires for additional support. Use the same method as installing the brace wire.
- Place the Mesh Heavy Netting 5cm/1.6mm Heavy Galv 1800mm over the cross beams and cross wires. Join to the side mesh using the same method in Step 10.THE DOOR
When the sides and the roof are complete, consequently, it’s time to proceed and install the door.
THE DOOR
- Make the door using a timber frame and Mesh Heavy Netting 5cm/1.6mm Heavy Galv 1800mm.
- Hinge the gate using a D&D technologies Tru-Close Multi Adjustable Hinges and latch the gate using the D&D technologies LockLatch Series 2.
- To prevent the foxes from digging under the gate, install an additional plinth board and Mesh Heavy Netting 5cm/1.6mm Heavy Galv under the gate.
And here you have it. A completed, secure and beautiful run for your chickens.